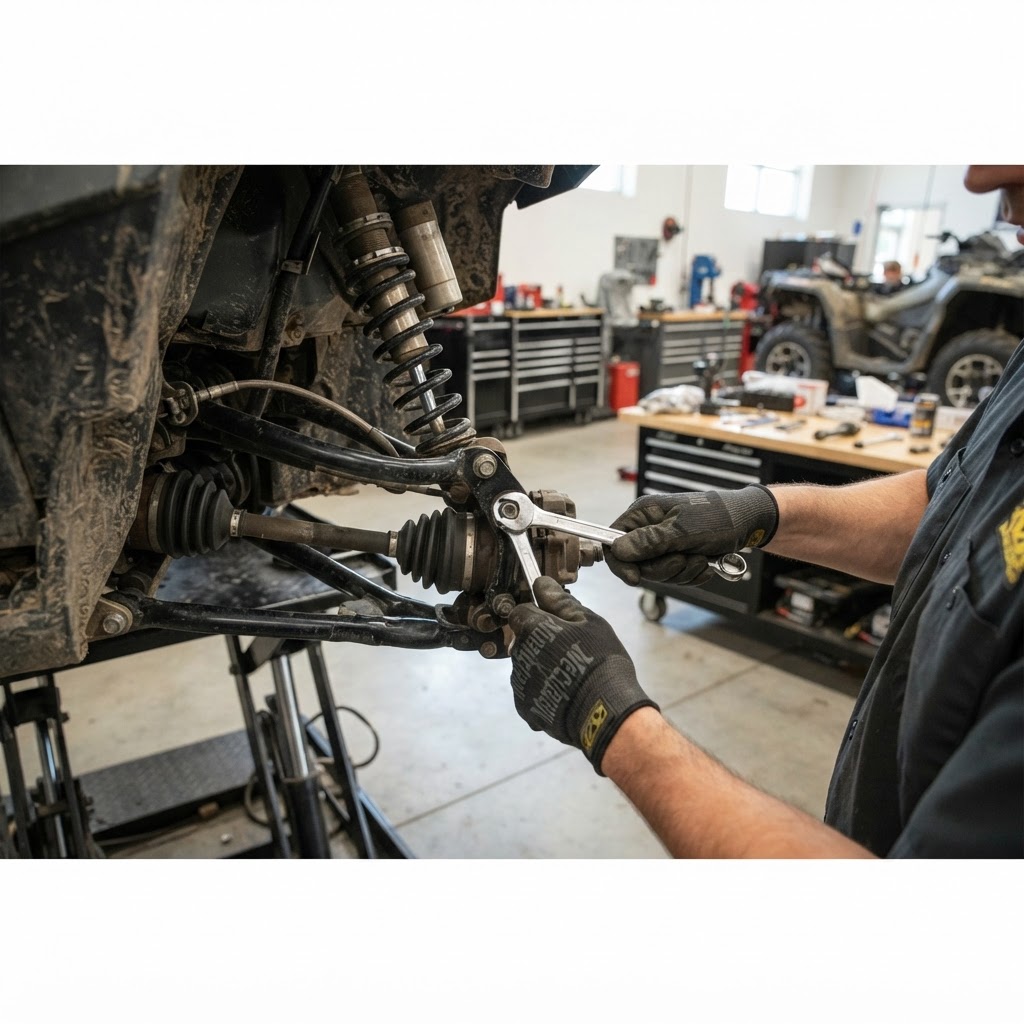
Learn how to identify failing CV axles on your ATV or UTV. Discover the signs of wear, when to replace your shafts, and expert tips for a smooth repair.
If you hear a rhythmic clicking sound while turning your machine, you are likely dealing with a failing CV joint, making ATV CV axle replacement a necessary task to avoid getting stranded on the trail. Ignoring these early warning signs often leads to a complete axle snap, which can cause collateral damage to your suspension, brake lines, and even the transmission housing. Whether you are a weekend trail rider or a mud-bogging enthusiast, understanding your driveline health is critical for vehicle longevity. At our shop, we frequently see riders who could have saved hundreds in secondary repairs by addressing a simple torn boot before the joint itself was compromised. When you notice grease slinging onto your inner wheel well or suspension components, it is time to inspect your driveline. You can browse our full selection of parts-categories to find the right fit for your specific make and model. ## Identifying CV Axle Failure Symptoms Your CV (Constant Velocity) axle is the bridge between your transmission and your wheels, designed to handle extreme angles and torque. Because these components are exposed to mud, water, and debris, they are prone to wear. ### Common Warning Signs * Clicking Noises: A sharp, rhythmic clicking sound during tight turns is the most common indicator of a worn CV joint. * Grease Slinging: If you see thick, dark grease sprayed inside your wheel rim or on the frame, your CV boot has likely torn. * Vibration: Excessive vibration during acceleration, especially at higher speeds, often points to a bent or unbalanced axle shaft. * Visible Boot Damage: A visual inspection is your best defense. Look for cracks, splits, or punctures in the rubber boots. If you find a tear, the joint is already being contaminated by grit, which acts like sandpaper on the internal bearings. ## When to Repair vs. Replace When a boot tears, you have a narrow window to act. If the joint is still quiet and you catch the damage immediately, a simple boot replacement kit may suffice. However, if the joint has been clicking or grinding, the internal race is likely pitted. In these cases, a full ATV CV axle replacement is the most cost-effective and reliable solution. Rebuilding individual joints is labor-intensive and often costs more in shop time than swapping in a complete, pre-assembled axle shaft. For those running oversized tires or lift kits, we always recommend upgrading to heavy-duty shafts. Stock axles are designed for factory geometry; once you add larger rubber, the increased leverage puts immense strain on the CV joints. Check out our brands page to see which heavy-duty manufacturers we trust for high-torque builds. ## Step-by-Step Replacement Overview While specific procedures vary by manufacturer, the general process for replacing an axle remains consistent across most major brands like Polaris, Can-Am, and Yamaha. 1. Secure the Machine: Lift the ATV or UTV using a stable jack and place it on jack stands. Never work on a machine supported only by a hydraulic jack. 2. Remove the Wheel and Hub: Take off the wheel and remove the castle nut and cotter pin securing the hub to the axle. 3. Disconnect Suspension: You will typically need to disconnect the lower ball joint or the tie rod end to create enough clearance to swing the suspension arm out. 4. Extract the Axle: Use a pry bar to pop the inner CV joint out of the differential housing. Be careful not to damage the differential seal during removal. 5. Install the New Axle: Slide the new axle into the differential until you hear or feel the snap ring seat firmly. Reassemble the suspension components, ensuring all bolts are torqued to the manufacturer's specifications. If you are unsure about your machine's torque settings, feel free to visit our shop for professional assistance. ## Conclusion Maintaining your driveline is the best way to ensure your machine is ready for the next ride. By performing regular visual inspections and addressing torn boots before they lead to total failure, you can avoid costly trailside breakdowns. If you are ready to upgrade or need a replacement, our team is here to help you get back on the dirt. ### Frequently Asked Questions #### How do I know if my CV axle is bad? The most common sign is a clicking noise when turning. You should also look for torn rubber boots and grease splattered around the suspension area. If you feel a heavy vibration while accelerating, the axle shaft itself may be bent or damaged. #### Can I drive with a torn CV boot? You should not drive with a torn boot for long. Once the boot is open, dirt and water will enter the joint, causing rapid wear. If you catch it early, you can replace just the boot, but if you wait, you will likely need a full axle replacement. #### Is it better to replace the whole axle or just the joint? For most riders, replacing the entire axle assembly is more efficient. It saves on labor costs and ensures that all components—including the inner and outer joints—are new and properly greased. Rebuilding a joint is often more expensive due to the time required. #### Do I need special tools for axle replacement? You will need a basic socket set, a torque wrench, a pry bar, and a pair of pliers for the cotter pins. Some models may require a specific axle nut socket. Always consult your service manual for the exact tools required for your specific machine. #### How often should I inspect my axles? You should inspect your CV boots and axles after every major ride, especially if you have been in deep mud or rocky terrain. A quick visual check before you load your machine onto the trailer can save you from a ruined weekend.