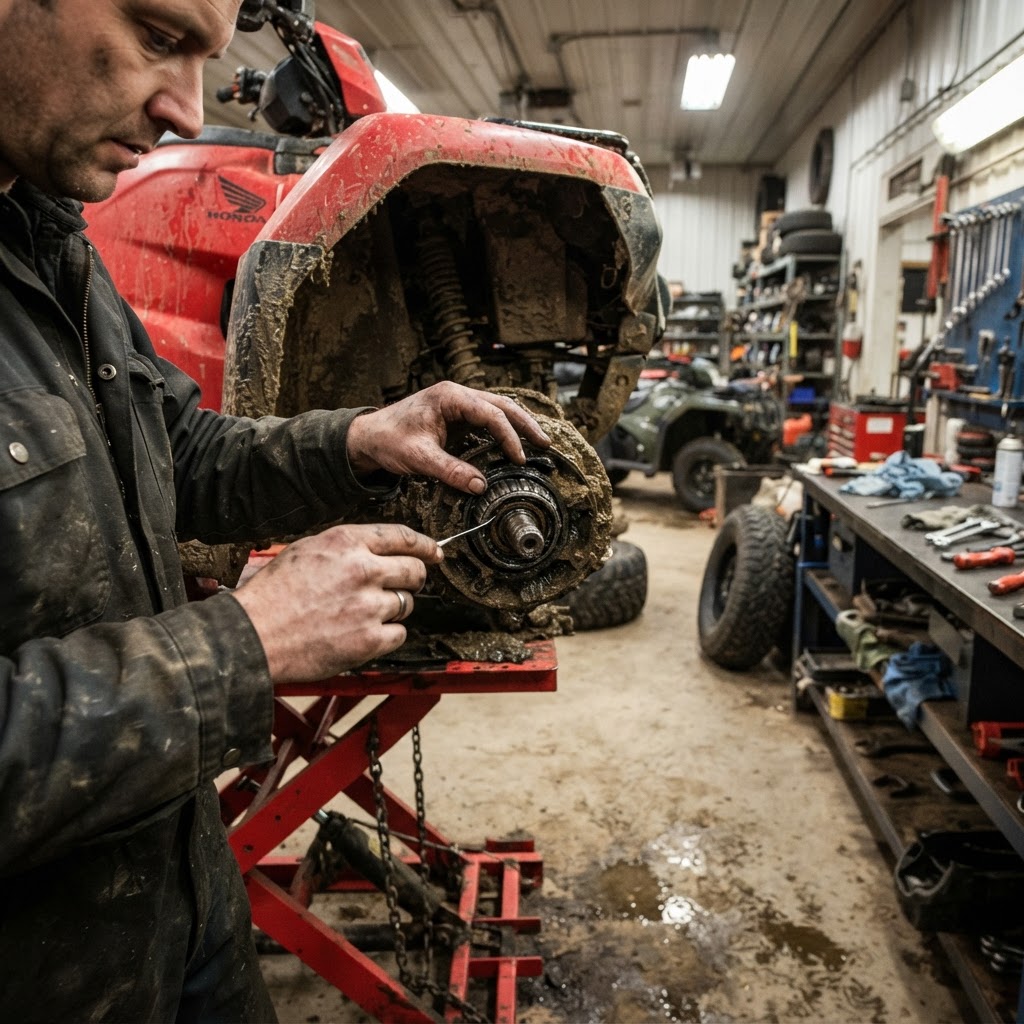
Learn the top symptoms of bad ATV wheel bearings, from wheel wobble to grinding noises, and how to inspect your machine before a trail failure occurs.
The most common symptoms of bad ATV wheel bearings include a noticeable wobble or "play" when rocking the wheel, grinding or clicking noises during low-speed turns, and steering that feels loose or wanders on flat trails. If you notice your machine pulling to one side or hear a high-pitched squeal that changes with speed, your bearings likely have water intrusion or heat damage. Identifying these symptoms of bad ATV wheel bearings early prevents catastrophic hub failure, seized axles, and expensive suspension damage that can leave you stranded on the trail.
Common Symptoms of Bad ATV Wheel Bearings
Recognizing the early warning signs of bearing failure is critical for any off-road enthusiast. Because ATVs and UTVs are frequently submerged in mud and water, the internal seals of a bearing can fail long before the part reaches its theoretical service life.
1. Physical Wheel Play (The Wobble)
The most definitive sign of a failing bearing is lateral movement in the wheel hub. When the internal ball bearings or races wear down, the tolerances increase, allowing the wheel to tilt independently of the axle. You may feel this as a "loose" sensation in the handlebars or steering wheel, especially when navigating off-camber terrain.
2. Auditory Cues: Grinding, Clicking, and Squealing
Bearings are designed to reduce friction. When they fail, metal-on-metal contact creates distinct sounds:
- Grinding: A constant rhythmic growl that increases in pitch as you accelerate.
- Clicking/Popping: Often heard during tight turns, indicating that the bearing cage has broken and the balls are bunching up.
- Squealing: A high-pitched noise usually caused by total lack of lubrication or excessive heat buildup.
3. Steering Wander and Pulling
If one front bearing is significantly more worn than the other, the ATV may pull toward the side with the bad bearing. This happens because the increased friction and misalignment change the toe-in/toe-out geometry of your front end. You might find yourself constantly correcting the steering just to maintain a straight line on a flat fire road.
4. Uneven Brake Wear or Spongy Pedal
In many UTV models, the brake rotor is mounted to the hub supported by the wheel bearing. If the bearing has play, the rotor will wobble between the brake pads. This pushes the caliper pistons back further than normal, resulting in a "spongy" brake feel the next time you hit the pedal. You may also notice uneven wear patterns on your parts-categories like brake pads and rotors.
The "12 and 6" Shake Test: How to Inspect Your Hubs
To verify if your suspicions are correct, you need to perform a physical inspection. This process is standard across Polaris, Honda, and Can-Am machines.
- Lift the Vehicle: Use a floor jack to lift the ATV until the tires are off the ground. Secure the machine with jack stands. Never work on a vehicle supported only by a jack.
- The Vertical Shake: Place your hands at the 12 o'clock and 6 o'clock positions on the tire. Attempt to rock the wheel toward and away from the machine. Any clicking or movement indicates a bad wheel bearing.
- The Horizontal Shake: Place your hands at 3 and 9 o'clock. Rock the wheel again. Note: Movement here could also indicate worn tie-rod ends or ball joints. If you see the steering rack moving, it is likely a steering component; if only the hub moves, it is the bearing.
- The Spin Test: Spin the wheel freely by hand. It should rotate smoothly and silently. If you feel a "crunchy" sensation through the tire or hear a dry rasping sound, the grease has been washed out and the bearing is toast.
Why ATV Bearings Fail: Mud, Water, and Maintenance
Off-road environments are hostile to precision moving parts. While automotive bearings might last 100,000 miles, ATV bearings are lucky to see 2,000 miles without maintenance.
- Water Intrusion: Submerging your hubs in creek crossings creates a vacuum effect. As the hot bearing hits cold water, it cools rapidly, sucking water and silt past the seals.
- Oversized Tires: Installing 30-inch tires on a machine designed for 25s increases the leverage applied to the bearing. This accelerates wear on the inner and outer races.
- Pressure Washing: Blasting your hubs with a high-pressure hose can actually force water past the seals and into the bearing grease.
If you are building a high-performance mud machine, check our gallery to see how professional builds utilize heavy-duty bearing carriers and specialized seals to combat these issues.
Comparison: OEM vs. Aftermarket Bearings
| Feature | OEM Bearings | Heavy-Duty Aftermarket | | :--- | :--- | :--- | | Seal Quality | Standard Nitrile | Double-Lip / Triple-Lip | | Grease Type | General Purpose | High-Temp / Marine Grade | | Price | Higher | Moderate to High | | Longevity | Good for Trail | Best for Mud/Water |
When selecting replacements, look for brands that specialize in off-road kits. These kits often include new snap rings and cotter pins, which should never be reused.
Step-by-Step Replacement Decision Criteria
Replacing a bearing isn't always a simple "bolt-on" affair. You must decide if you have the tools to do it yourself or if you need a professional shop.
Scenario A: The DIY Approach You have a hydraulic press or a specialized bearing puller tool. You can remove the knuckle, press out the old bearing, and press in the new one. This is the most cost-effective method but requires precision to ensure the bearing is seated perfectly square. If it goes in crooked, it will fail within 50 miles.
Scenario B: The Hub Assembly Swap Some modern UTVs offer complete hub assemblies. While more expensive, this eliminates the need for a press and replaces the entire wear surface. This is ideal for trailside repairs or for riders without access to heavy shop equipment.
Maintenance Tips to Extend Bearing Life
Prevention is significantly cheaper than repair. To avoid the symptoms of bad ATV wheel bearings, follow these shop-proven tips:
- Use a Bearing Greaser Tool: Many modern bearings are "sealed," but they often come from the factory with very little grease. A specialized greaser tool allows you to inject high-quality waterproof grease through the center of the bearing without removing the seals.
- Grease Every 500 Miles: If you ride in dry conditions, 500-1,000 miles is acceptable. If you are a mud rider, you should grease your bearings every 2-3 rides.
- Inspect After Every Deep Submersion: If you spend the weekend at a mud park, jack the bike up on Monday and perform the shake test. Catching a failing bearing before it ruins the spindle can save you hundreds of dollars.
Conclusion
Understanding the symptoms of bad ATV wheel bearings is the difference between a quick afternoon fix and a ruined weekend. By listening for grinding noises, feeling for steering wander, and performing regular "shake tests," you can maintain the integrity of your drivetrain. Whether you are looking for heavy-duty replacements in our shop or need a professional to press in new sets, staying proactive is the key to off-road reliability. Don't ignore the wobble—fix it before the trail fixes it for you.
FAQ
How long do ATV wheel bearings typically last?
In ideal conditions with regular maintenance, ATV wheel bearings can last 2,000 to 3,000 miles. However, for riders who frequently navigate deep mud, water, or sand, that lifespan can drop to 500 miles or less. The use of oversized tires and wheel spacers also increases the load, significantly shortening the time between replacements.
Can I drive my ATV with a bad wheel bearing?
It is not recommended. A failing bearing generates extreme heat, which can weld the bearing to the axle or spindle. In extreme cases, the wheel can actually break free from the vehicle, leading to a total loss of control. If you detect symptoms, limit your speed and return to the trailer immediately for repairs.
Do I need a press to change ATV wheel bearings?
For most models, yes. ATV bearings are typically "press-fit" into the steering knuckle or bearing carrier. While some riders use a large socket and a hammer, this risks damaging the new bearing or the aluminum knuckle. A hydraulic press or a specialized C-clamp bearing tool is the professional way to ensure a square, damage-free installation.
Should I replace wheel bearings in pairs?
While not strictly mandatory, it is highly recommended to replace bearings in pairs (both fronts or both rears). If one bearing has failed due to age or environmental exposure, the bearing on the opposite side has likely been subjected to the same conditions and is nearing the end of its functional life.
What is the best grease for ATV wheel bearings?
Look for a high-quality "Marine Grade" or "Calcium Sulfonate" grease. These types are specifically formulated to resist water washout and provide superior corrosion protection. Avoid general-purpose automotive grease, as it can emulsify when mixed with water, losing its lubricating properties and leading to rapid bearing failure.