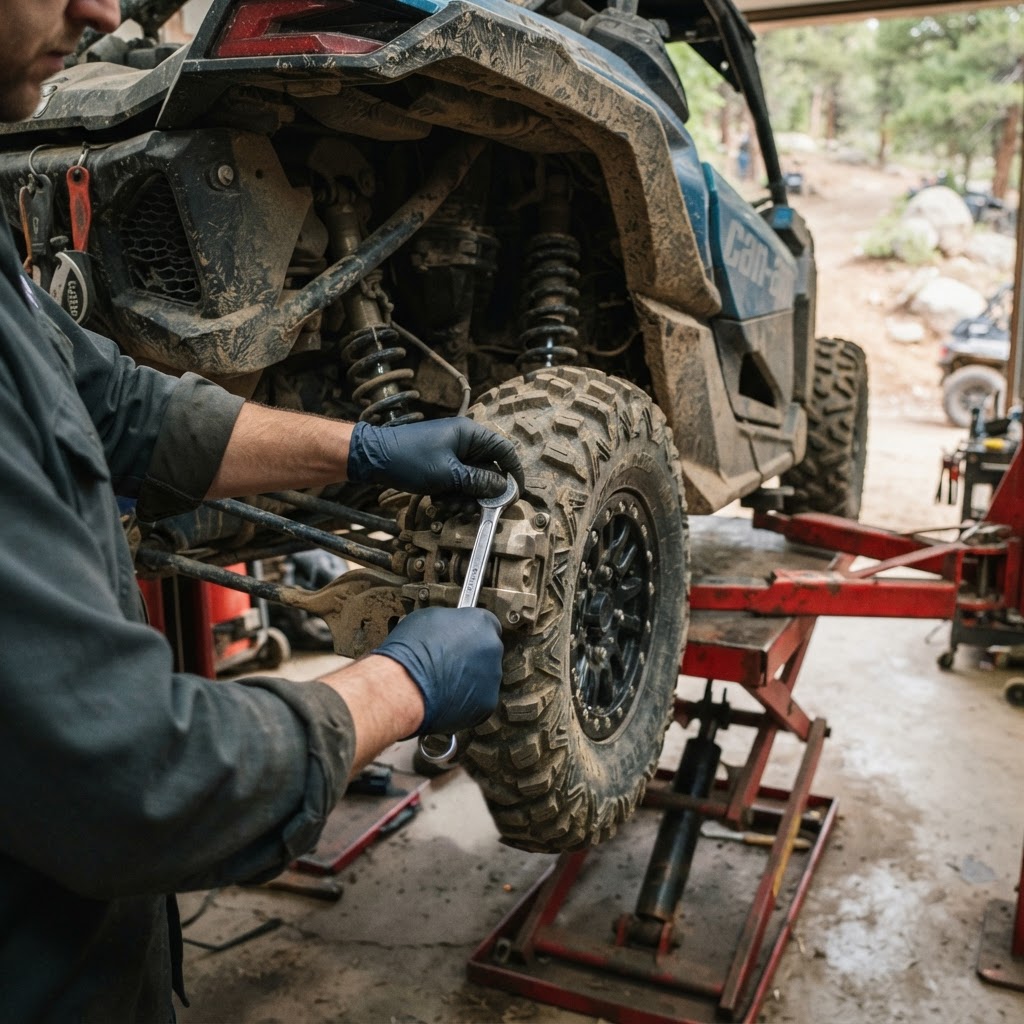
Learn how to perform a UTV brake pad replacement safely. Discover signs of wear, material selection tips, and professional steps to restore stopping power.
Performing a UTV brake pad replacement is one of the most critical maintenance tasks for any off-road enthusiast. If you notice a grinding noise, reduced stopping power, or a spongy brake pedal, your pads are likely worn past their service limit. Generally, you should inspect your pads every 25 hours of riding and replace them once the friction material reaches 1mm or less in thickness. Neglecting this can lead to rotor damage, which significantly increases your repair costs. Whether you are hitting deep mud or high-speed trails, maintaining your braking system is essential for rider safety.
Choosing the Right Brake Pad Material
Not all brake pads are created equal. Selecting the right compound for your riding style is the first step in a successful UTV brake pad replacement.
- Sintered Metal Pads: These are the gold standard for aggressive, off-road riding. They handle mud, water, and grit exceptionally well without breaking down.
- Organic/Ceramic Pads: Best suited for light, recreational riding on dry, hard-packed trails or asphalt. They offer a quieter, smoother feel but wear faster in wet conditions.
- Semi-Metallic Pads: A versatile middle ground for mixed-use riders who split time between trail riding and utility work.
If you are unsure which compound fits your specific machine, browse our parts-categories to see options tailored to your vehicle's needs.
Essential Tools for the Job
Before you begin, ensure you have the following tools ready to avoid mid-job frustration:
- Socket wrench and socket set
- Flat-head screwdriver
- Small C-clamp or brake piston tool
- Allen wrench or hex key set
- Floor jack and jack stands
- Brake cleaner and a clean rag
Step-by-Step UTV Brake Pad Replacement
Follow these steps to ensure a professional-grade installation:
- Secure the Vehicle: Park on a flat, level surface. Loosen the lug nuts, jack up the UTV, and place it securely on jack stands. Never work on a machine supported only by a jack.
- Remove the Wheel: Take off the wheel to expose the brake caliper assembly.
- Remove the Caliper: Use your socket wrench to remove the mounting bolts. Carefully slide the caliper off the rotor. Do not let the caliper hang by the brake line, as this can cause internal damage; use a bungee cord to hang it from the suspension.
- Swap the Pads: Use your screwdriver or Allen wrench to remove the retaining pins or clips. Slide out the old pads.
- Reset the Piston: Use a C-clamp to gently compress the brake piston back into the caliper housing. This creates the necessary clearance for the thicker, new pads.
- Install and Reassemble: Slide in the new pads, reinstall the retaining clips, and bolt the caliper back onto the mounting bracket. Torque the bolts to your manufacturer's specifications.
- Bed-In the Brakes: Once reassembled, pump the brake pedal several times until it feels firm. Perform a few low-speed stops to seat the new material against the rotor.
Pro Tips for Longevity
Always inspect your rotors for deep grooves or warping during the process. If the rotor surface is damaged, new pads will wear prematurely. If you find your rotors are beyond repair, check our shop for high-quality replacements. Additionally, keep an eye on your brake fluid levels; if the fluid is dark or contaminated, it is time for a flush to ensure consistent hydraulic pressure.
Conclusion
Mastering your UTV brake pad replacement ensures your machine remains safe and responsive on the trail. By choosing the right material for your environment and following a disciplined maintenance schedule, you protect your investment and your safety. If you encounter any issues during the process or need help identifying the correct parts for your specific model, our team is here to help you get back on the dirt.
How often should I replace my UTV brake pads?
Most manufacturers recommend inspecting your pads every 25 hours. Replace them when the friction material is 1mm thick or less. If you ride in heavy mud or abrasive sand, you may need to check them more frequently, as these conditions accelerate wear significantly.
Can I use automotive brake pads on my UTV?
No. UTV brake pads are specifically engineered to handle the unique weight, speed, and environmental demands of off-road riding. Automotive pads lack the necessary heat dissipation and durability required for trail conditions and may fail prematurely or compromise your safety.
Why do my brakes squeal after installation?
Minor squealing during the initial break-in period is normal as the new pads seat against the rotor. However, if the noise persists, ensure the anti-rattle clips are installed correctly and that no debris is trapped between the pad and the rotor surface.
Do I need to replace my rotors when I change pads?
Not always. If your rotors are smooth and within the manufacturer's thickness specifications, you can simply clean them and install new pads. However, if you see deep scoring, heat checking, or warping, you must replace the rotors to ensure proper braking performance.