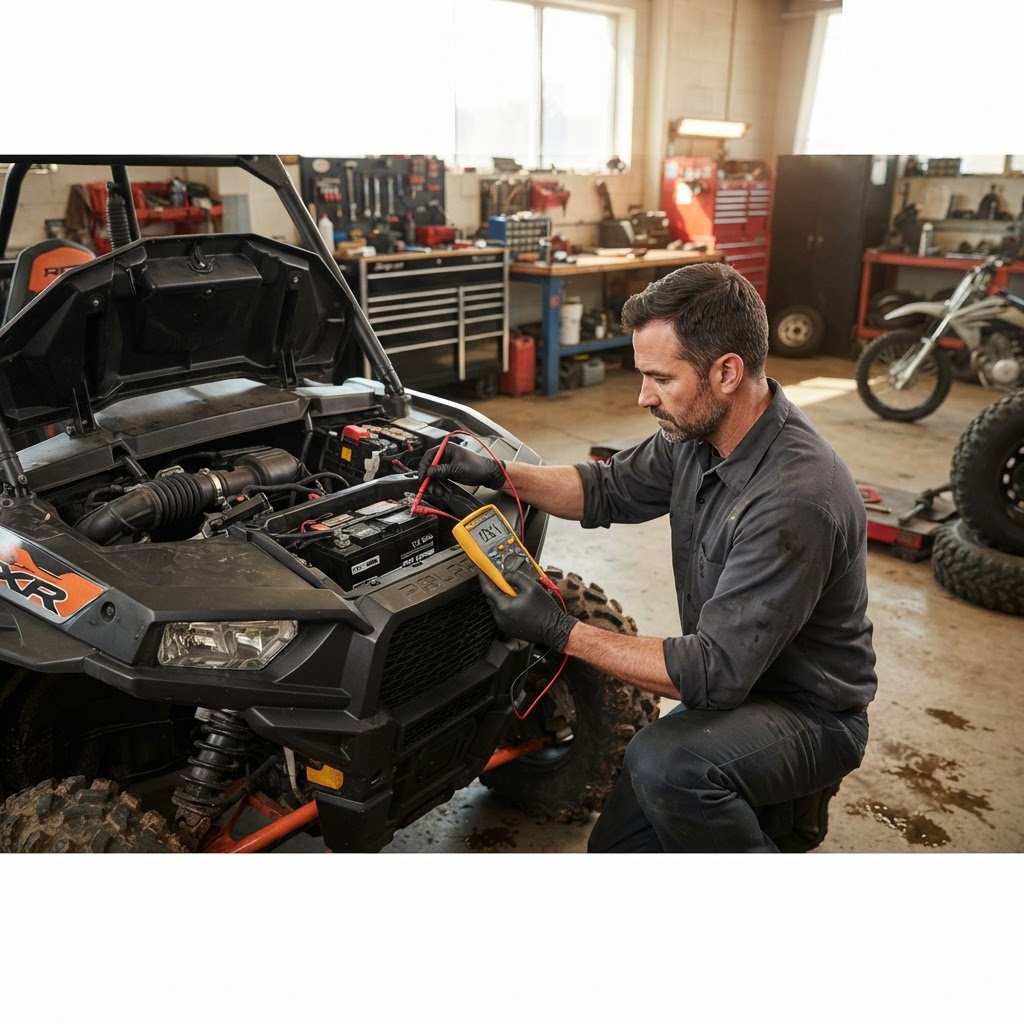
Struggling with a dead battery or flickering lights? Learn essential UTV electrical troubleshooting steps to diagnose charging system failures like a pro.
If your UTV won't start or the battery keeps dying, UTV electrical troubleshooting is the first step to getting back on the trail. Most charging system issues stem from a failing battery, a faulty voltage regulator, or a damaged stator. By systematically testing these components, you can identify the root cause before replacing expensive parts unnecessarily. If you find that your components are beyond repair, browse our parts-categories to find the exact replacement you need for your specific model.
Understanding the UTV Charging System
The charging system is a loop consisting of the stator, the voltage regulator/rectifier, and the battery. The stator generates AC power, the regulator/rectifier converts it to DC and manages the voltage, and the battery stores that energy. When one link fails, the entire system suffers.
Common Symptoms of Electrical Failure
- Dimming Headlights: Often indicates the battery is not receiving a charge while the engine is running.
- Hard Starting: A classic sign of a battery that isn't holding a charge or a charging system that isn't replenishing it.
- Engine Stalling: If your UTV runs fine under throttle but dies at idle, it may be struggling to maintain voltage for the fuel pump or ignition system.
- Battery Swelling: A sign of overcharging, usually caused by a failed voltage regulator.
Step-by-Step Troubleshooting Process
Before diving into complex wiring, always start with the basics. A loose ground wire is a common culprit that mimics a major component failure.
- Check Battery Connections: Ensure terminals are clean, tight, and free of corrosion.
- Test Battery Voltage: With the engine off, a healthy battery should read approximately 12.6V.
- Check Charging Voltage: Start the engine and rev it slightly. You should see the voltage climb to 13.5V–14.5V. If it stays below 13V, your charging system is not working.
- Inspect the Regulator/Rectifier: Look for signs of heat damage or melted plastic on the connector. If you suspect a failure, check our brands page for high-quality OEM and aftermarket replacements.
Advanced Diagnostics: Stator and Regulator
If your battery is good but the charging voltage is low, the issue is likely the stator or the regulator. The stator is located inside the engine case and can be tested for resistance using a multimeter. If the stator is outputting correct AC voltage but the regulator is not outputting DC voltage, the regulator is the likely failure point.
Safety and Pro Tips
Always wear safety glasses when working with batteries. If you are uncomfortable performing these tests, our team is ready to assist with professional service at our shop. We have seen many DIY repairs fail because of improper wiring connections; always use dielectric grease on electrical plugs to prevent moisture intrusion, which is a leading cause of corrosion in off-road environments.
Conclusion
Mastering UTV electrical troubleshooting saves time and money, ensuring your machine is ready for the next ride. By checking your battery, regulator, and stator in order, you can quickly isolate the problem. Remember to keep your connections clean and inspect your wiring harness for any signs of rubbing or heat damage. For further assistance or to view our latest builds, check out our gallery for inspiration on how to properly route your electrical accessories.