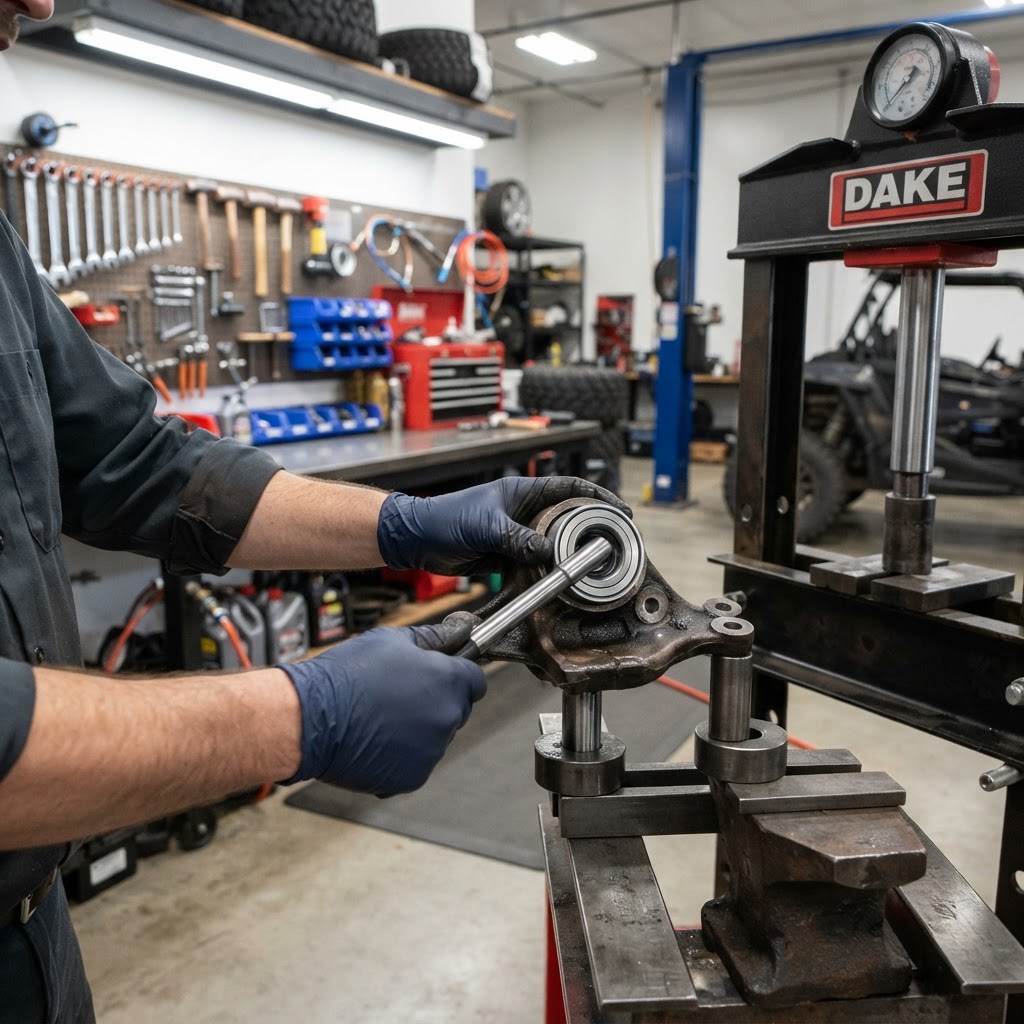
Learn how to perform a UTV wheel bearing replacement with our expert guide. Discover signs of failure, essential tools, and professional installation tips.
If you notice a grinding noise or excessive play in your wheels, a UTV wheel bearing replacement is likely in your immediate future. These components are the unsung heroes of your suspension, bearing the brunt of every rock, mud hole, and high-speed trail run. When they fail, they don't just cause annoying vibrations; they can lead to catastrophic hub failure or axle damage if left unaddressed. In this guide, we will walk you through the diagnostic process and the professional steps required to get your machine back on the trail safely. Whether you are a weekend warrior or a dedicated mud rider, understanding this maintenance task is essential for long-term vehicle health. If you find yourself lacking the specialized tools or time, our shop is always ready to assist with professional service and high-quality parts to keep you moving.
Identifying Signs of Bearing Failure
Before you start tearing down your suspension, it is vital to confirm that the bearings are indeed the culprit. A common mistake is confusing a bad bearing with a loose lug nut or a failing CV joint.
- Audible Grinding: A rhythmic growling or grinding noise that increases with speed is the most common symptom.
- Wheel Play: With the machine jacked up, grab the tire at the 12 and 6 o'clock positions and rock it. Any noticeable "clunking" or movement indicates a worn bearing.
- Heat Buildup: After a short ride, carefully touch the center of the wheel hub. If it is excessively hot compared to the others, the bearing is likely seizing.
- Vibration: Steering wheel feedback or floorboard vibrations that worsen during cornering often point to a failing front bearing.
Essential Tools for the Job
Having the right equipment makes the difference between a two-hour job and a weekend-long headache. You will need a solid jack, jack stands, a breaker bar, and a torque wrench. For the actual removal and installation, a hydraulic press is the gold standard. If you do not have access to a press, a heavy-duty vice or a specialized bearing driver kit can work, provided you are extremely careful not to damage the new race. Always ensure you have the correct brands of replacement bearings that match your specific UTV model, as tolerances vary significantly between manufacturers.
Step-by-Step Replacement Process
- Secure the Machine: Park on a level surface, loosen the lug nuts, and jack up the UTV. Place it securely on jack stands.
- Remove the Wheel and Brake Assembly: Take off the wheel, then remove the brake caliper and rotor. Hang the caliper with a bungee cord to avoid stressing the brake line.
- Axle Nut Removal: Use a breaker bar to remove the axle nut. This is often the most difficult step due to factory thread locker.
- Knuckle Removal: Disconnect the ball joints and tie rod end to free the steering knuckle from the A-arms.
- Bearing Extraction: Use your press or driver to push the old bearing out. Clean the hub bore thoroughly of any debris or old grease.
- Installation: Press the new bearing in, ensuring it sits perfectly flush. Reinstall the snap ring, then reassemble the knuckle, axle, and brake components in reverse order.
Pro Tips for Longevity
To maximize the life of your new bearings, consider upgrading to sealed, high-speed units if you frequently ride in water or mud. Always apply a light coat of high-quality waterproof grease to the axle splines during reassembly to prevent rust. If you are unsure about your specific model's torque specifications, check our gallery for examples of recent builds or contact our team for technical support. Proper torque is non-negotiable; over-tightening can crush the bearing race, while under-tightening leads to premature play.
Conclusion
Performing a UTV wheel bearing replacement is a rewarding project that saves money and builds confidence in your machine's reliability. By following these steps and using quality components, you ensure your UTV remains capable of handling the toughest terrain. Remember, if you encounter seized bolts or damaged hubs during the process, our local shop is equipped to handle the heavy lifting. Regular inspections are the best way to catch these issues before they leave you stranded on the trail.
FAQ
How often should I check my UTV wheel bearings?
You should inspect your wheel bearings every 500 miles or after every major mud or water ride. Frequent exposure to moisture and grit accelerates wear, so proactive checks during routine maintenance are the best way to prevent trail-side failures.
Can I drive with a bad wheel bearing?
No, you should not drive with a bad bearing. A failing bearing can seize, causing the wheel to lock up or the hub to break, which could lead to a loss of control or severe damage to your axle and suspension components.
Do I need a hydraulic press for this job?
While a hydraulic press is the preferred method for a clean, safe installation, it is possible to use a heavy-duty vice or a bearing driver kit. However, using a hammer directly on the bearing is discouraged as it can damage the internal races.
Why do my new bearings fail so quickly?
Premature failure is often caused by improper installation, such as pressing on the inner race instead of the outer, or failing to seat the snap ring correctly. Additionally, using low-quality bearings or failing to use proper seals can allow contaminants to enter the hub.
Is it better to replace bearings in pairs?
Yes, it is highly recommended to replace wheel bearings in pairs (both front or both rear). If one bearing has reached the end of its service life, the other on the same axle is likely close behind, and replacing both ensures balanced handling.